Illustrations by Michael Telewiak
Taking the time to dial in your amp tone can be a whole process in and of itself. But after dialing in your preferred guitar sound, it’s time to head to the studio. Capturing your tone becomes the utmost importance, and what most people don’t realize (or think about) is that your recorded sound is impacted by the type of microphone you use and where it’s placed on the cab. Here we’re going to get into how to mic a guitar amp, and why it doing it properly matters.
How Different Mics and Positions Can Impact Tone
The best way to mic a guitar amp comes mainly from two points: the type of microphone and its position.
The type of mic controls how the sound is captured (detail, warmth, brightness), and the mic position decides which parts of the sound are captured (directness, room, bass, highs).
Dynamic mics are great for loud amps, since they’re less sensitive, warmer, and tend to be a little less detailed. On the other hand, condenser and ribbon mics are much more sensitive and capture more detail. Condensers typically capture a brighter, clearer and much more natural sonic image, while ribbons provide you with that smooth, warm, and vintage tone that we all know and love.
Determining the mic position is the next item of business. Aiming your mic at the center of the speaker will give you a brighter sound and moving it towards the outer edge will reduce the brightness and provide lower end. As you move your mic sideways, there will be a reduction in midrange and upper-mid frequencies the closer you are to the surround edge of the speaker.
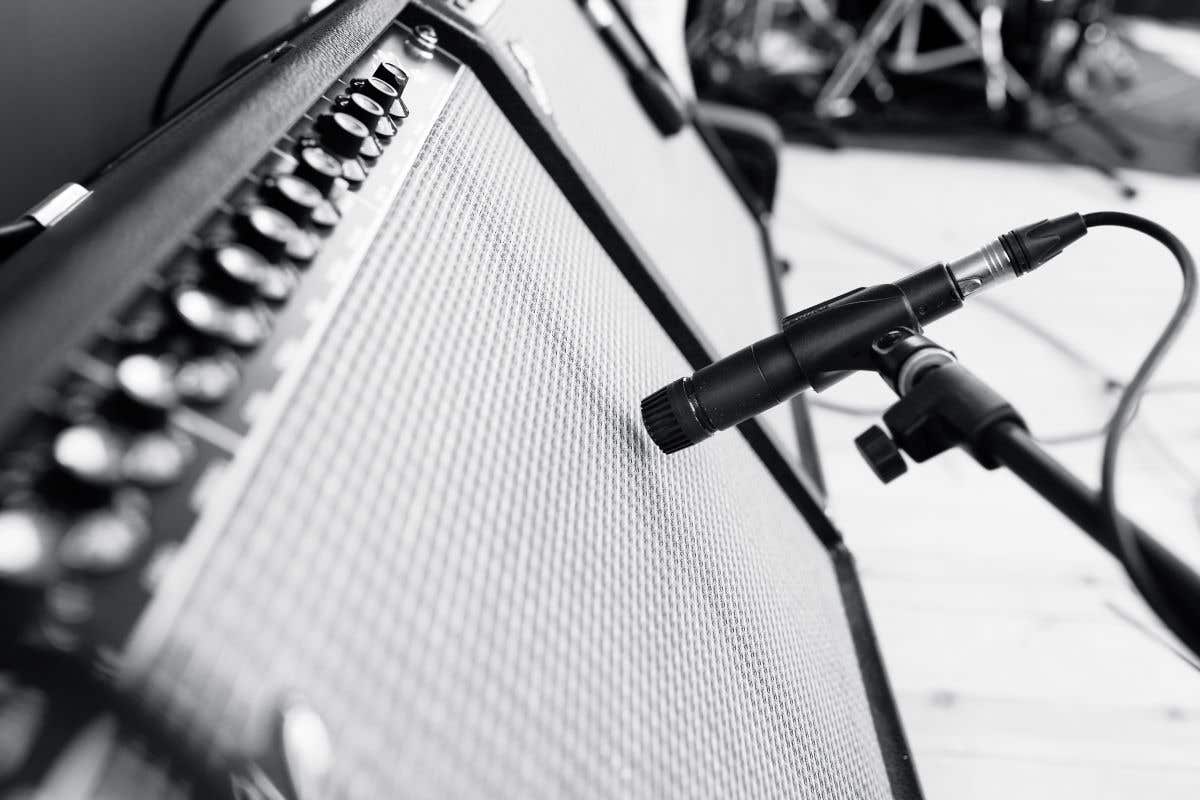
There’s close miking, which is when a mic is placed a few inches from the amp’s grill cloth, and room-miking, which is setting the mic back far enough to capture the amp and room. The ambience of the room you’re in has a direct influence on the sound character you’ll get when miking your amp.
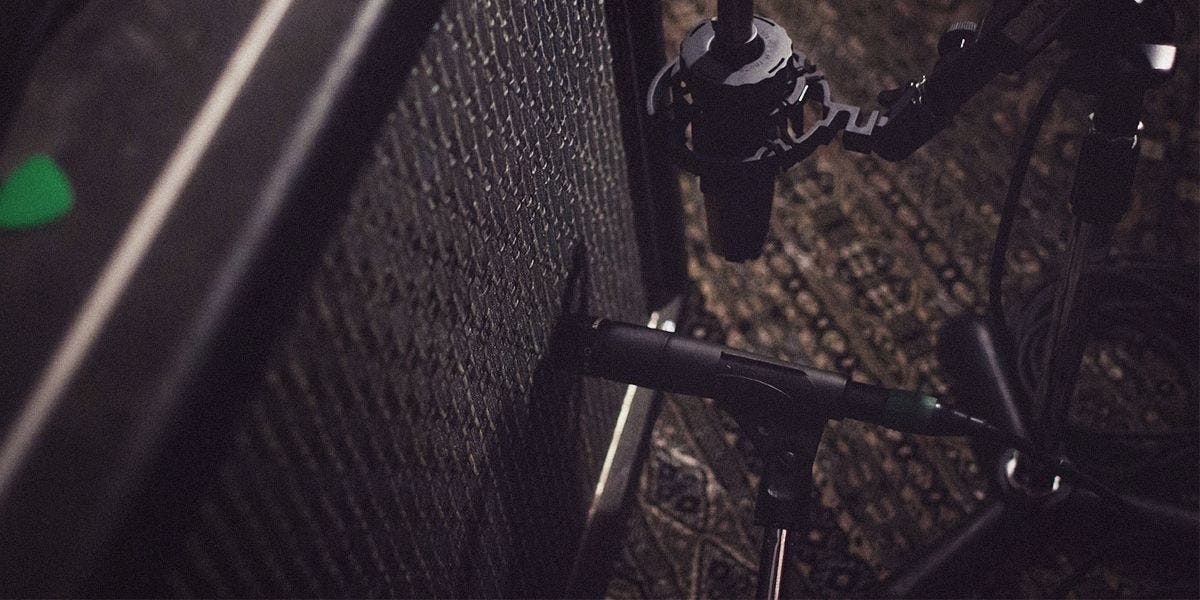
If you’re using two mics, remember to keep an ear out for phasing. Phase cancellation happens when two mics pick up the same sound source and combine them out of phase — meaning the wave frequencies are reversed. When combined, the peaks and troughs of the frequency waves cancel each other out, meaning you don’t hear a thing.
How to Mic a Guitar Amp: Step by Step
Now that we’ve covered the general grounds of miking a guitar amp, let’s design a step-by-step game plan on how we would go about miking our guitar amp.
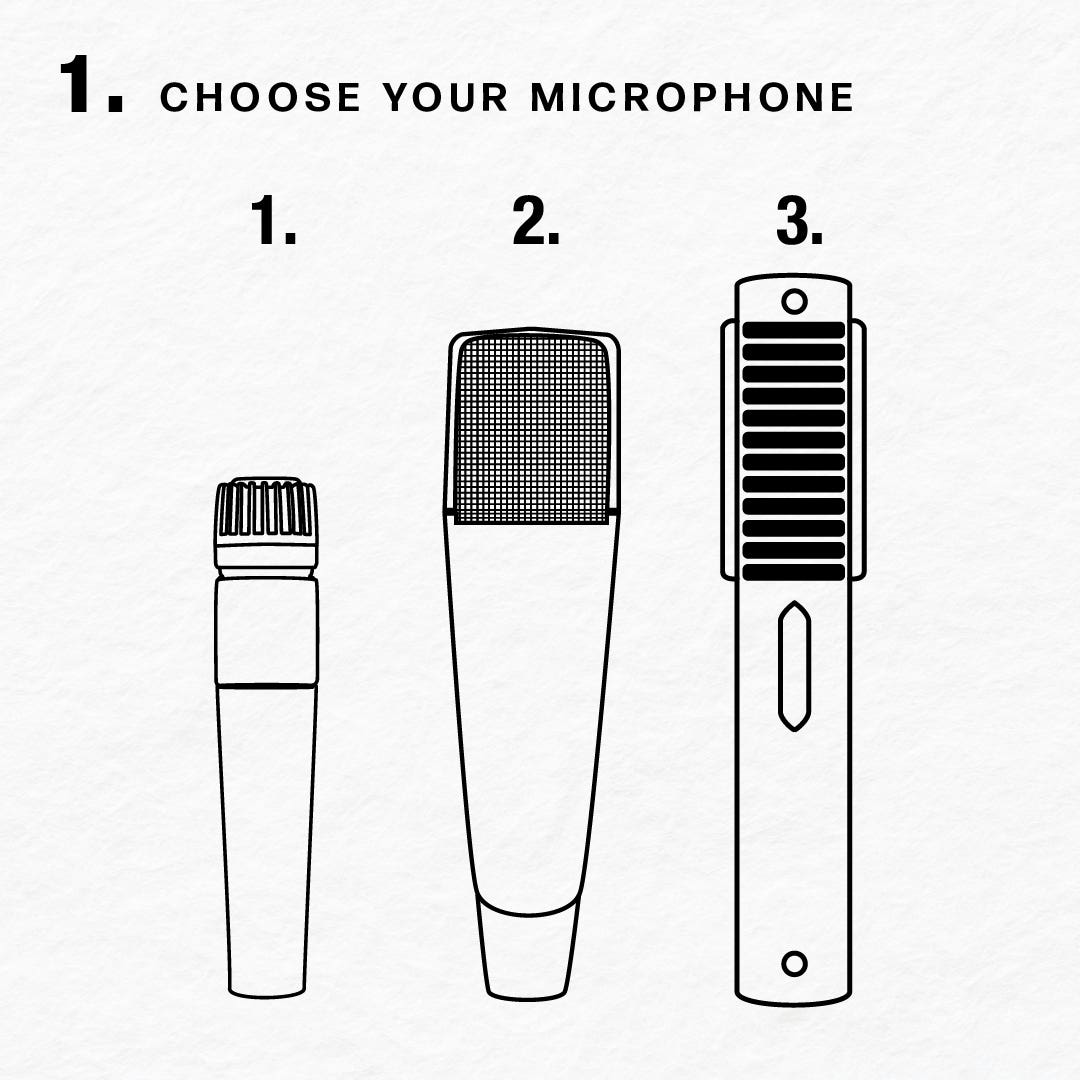
Step 1: Choose your microphone
There are a million different mics you can choose from. But if you’re new to miking a guitar amp, a good ol’ Shure SM57 is a great place to start. It’s basically the industry-standard instrument mic. You can also consider a condenser or ribbon mic depending on the situation and the sound you want.
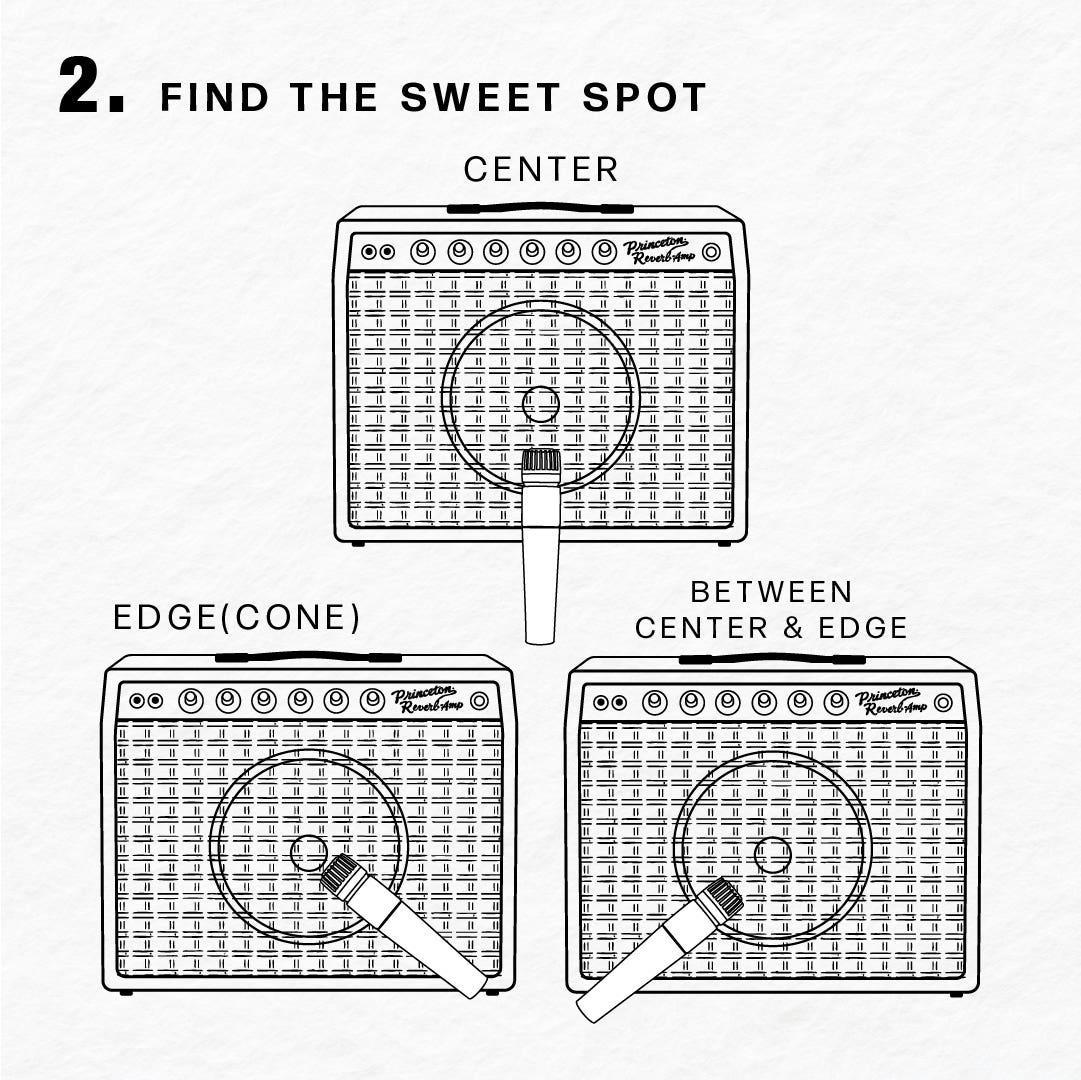
Step 2: Find the sweet spot on the speaker
Use your smartphone light and shine it on the amp grille to locate the speaker. From there you can determine where you want to position your mic.
- Center: brighter, sharper tone.
- Edge (cone): darker, bassier tone.
- Between center and edge: balanced tone.
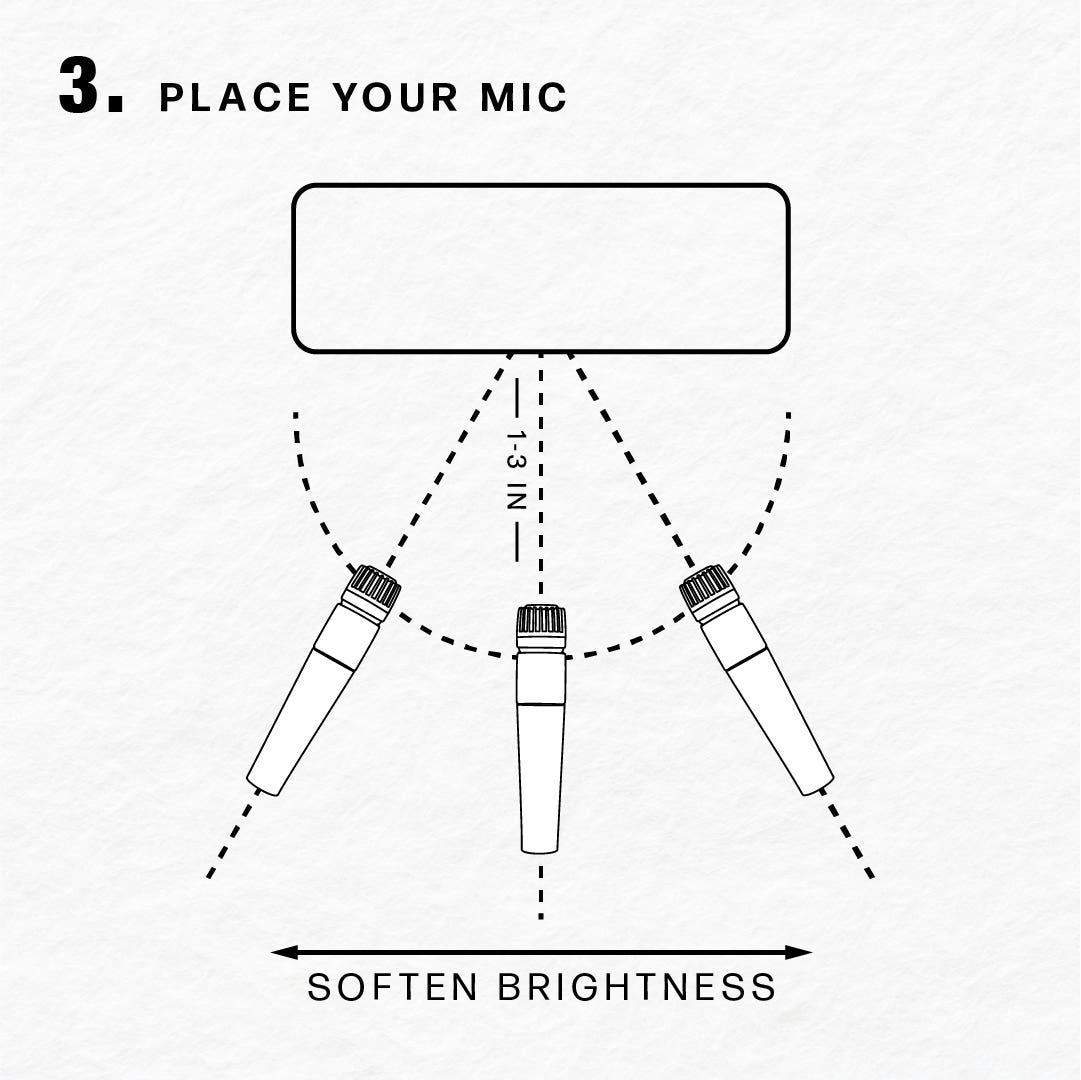
Step 3: Place your mic
You’ll want to start out close miking the amp, placing the mic only a few inches from the amp’s grille cloth, and experiment from there to shape your tone:
- Distance: 1–3 inches from the speaker grille.
- Angle: Start perpendicular (90°) to the speaker. Experiment with angles to soften brightness.
- Position: Move laterally across the speaker to find your preferred tone (center is brighter, edge is warmer).

Step 4: Connect and set levels
While you connect your mic to an audio interface or mixer, be sure to avoid any clipping and set your volume levels to an appropriate level, usually between -12 and -6dB.
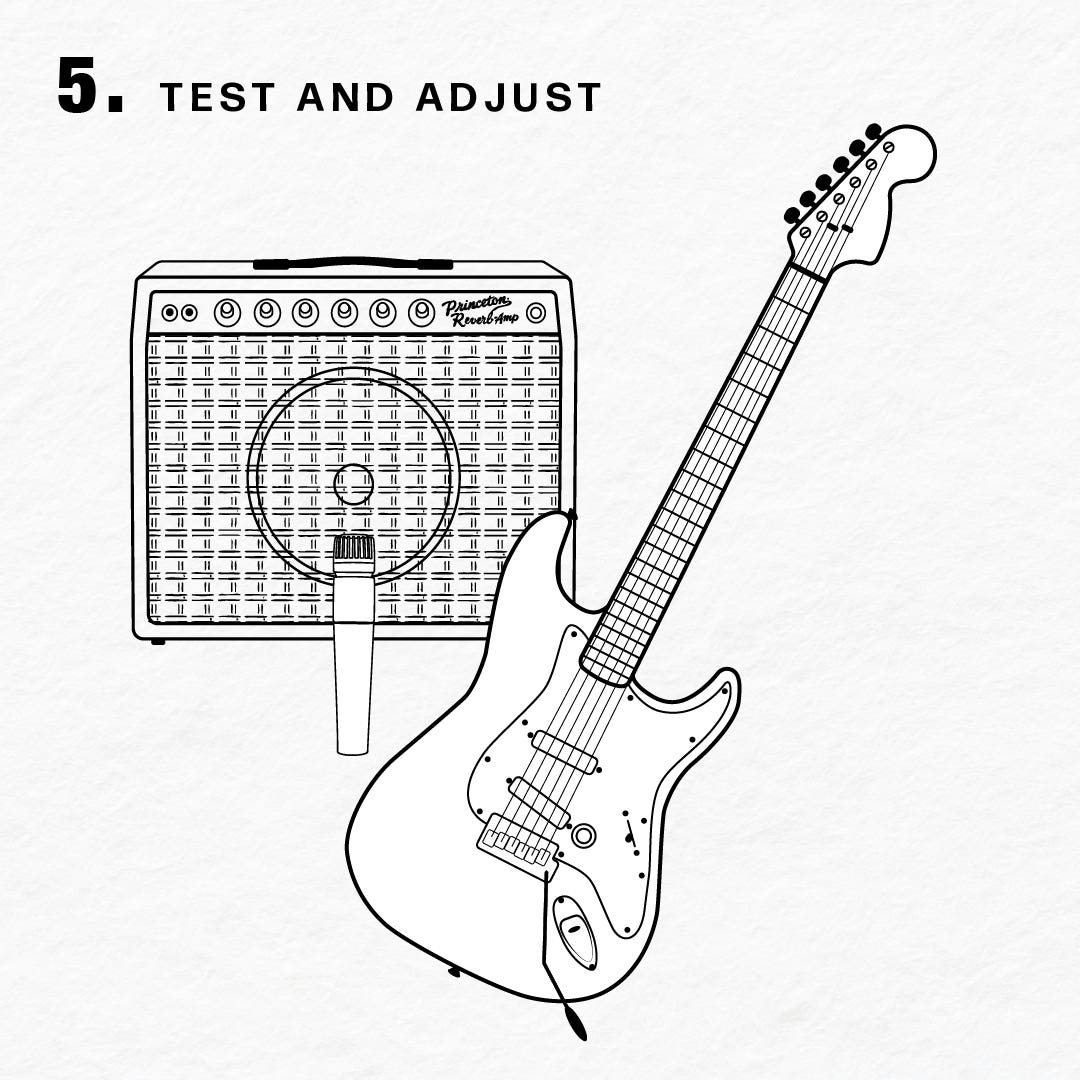
Step 5: Test and adjust
Play your guitar through the amp and listen to the recorded signal or live mix. From there, you can move the mic around to your preference and decide when you’ve found the ideal placement.
If you’re getting a boomier sound with close miking, try moving it a little farther back (we’re talking inches, not feet) and see how that changes the sound. Sometimes capturing some of the room will allow your sound to breathe a little bit. Keep in mind that each guitar amp and room is different, so there’s no universal approach. Trust your ears, they’ll guide you to the perfect sound that matches your vision.
Best Microphones for Miking a Guitar Amp
You know the process; now let’s get into some of the best microphones to mic a guitar amp. Keep in mind that these are just our humble recommendations:

Dynamic Microphones
- Shure SM57
- Sennheiser e906
- Electro-Voice RE20 (typically for bass amps)
Condenser Microphones
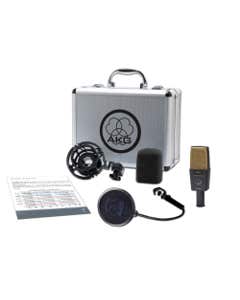
AKG C414XLII Reference Multi Pattern Large Diaphragm Condenser Mic
Special Price $1,249.00

Beyerdynamic M 160 Double Ribbon Dynamic Microphone
Special Price $1,049.99
Ribbon Microphones
This list of microphones is just to get you headed in the right direction. Feel free (encouraged) to search for one that works best for you. See what others are using as their preference, even cooler if you have access to a studio where you have the ability to experiment with many other mics.
From Strings to Speakers
Miking a guitar amp can be both a science and art. But once you get the hang of it, it’s a great way to truly take control of your tone. Whether you’re using a single mic or trying out a multi-mic setup, small adjustments can make a big difference in your sound. With a bit of practice, you’ll be able to dial in the tone that fits your style and makes your recordings shine. Feel free to call our gear experts on our AMS Customer Service team at 800-458-4076 if you have any questions.